
You probably heard of the plugin WorldEdit. This thread provides you an easy introductory guide to it. You can use WorldEdit to place several blocks with only one command, and also delete them. You can create circles and spheres and adjust your Minecraft world both roughly and finely according to your wishes.
Here, we will explain the most important commands of WorldEdit to you. Feel free to follow the tutorial step by step.
THE WORLDEDIT BASICS: (RE-)PLACING BLOCKS
First of all, you need a Wooden Axe. This item will be your wand tool which you need for pretty much all stuff in WorldEdit. You can get it directly from the creative inventory or by using the command //wand.
Now let’s place our first platform. Left-click a block, move diagonally and right-click another block.

Now execute the following command: //set 1
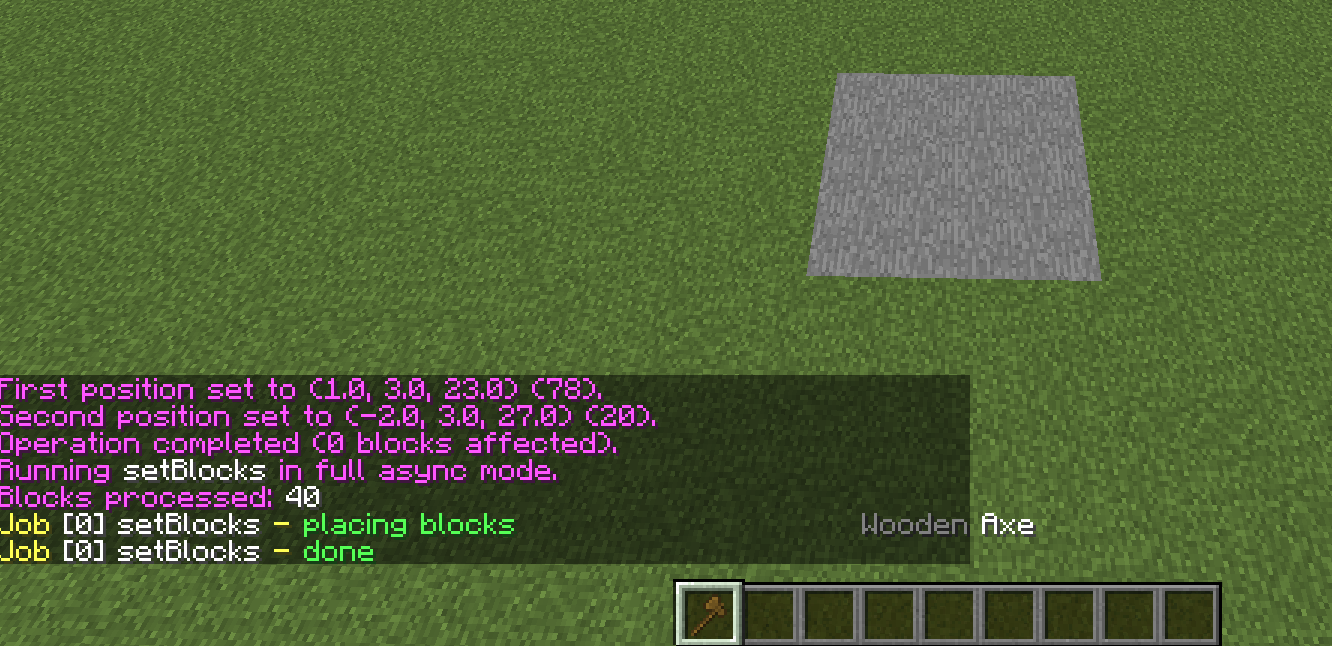
The command consists of the following arguments: Every WorldEdit command starts with a //. “set“ works as an operator. Other operators are e.g. undo or flip, but we’ll come to that later on. With “1“ you specify the item ID for stone.
Here you can find a list of every item ID: https://minecraft-ids.grahamedgecombe.com/
However, you can also find the IDs in Minecraft. Simply press F3 + H to view it next to the name of an item in your inventory.
Before:
After:

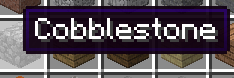
In this example, the item ID of Cobblestone is 4.
So, entering //set 4 will place Cobblestone.
For Andesite, it says e.g. 1/5. This means that you have to enter 1:5 for WorldEdit.
After:
In this example, the item ID of Cobblestone is 4.
So, entering //set 4 will place Cobblestone.
For Andesite, it says e.g. 1/5. This means that you have to enter 1:5 for WorldEdit.
However, other blocks or the wand tool aren’t necessary to place blocks with WorlEdit.
Try it out:
Soar into the air and enter the command //pos1. Fly to another place and enter the command //pos2. Now enter the command //set 19 and look what happens.
Sometimes, you may want to replace existing blocks with other blocks. Here, the command //replace is your friend.
Here, you can do the following things:
- Replace every marked block with another one (//replace [itemID])
- Replace a specific block with another block (//replace [itemID] [itemID]
Gomme loves clay. He gave us the task to turn a normal forest into a clay forest.
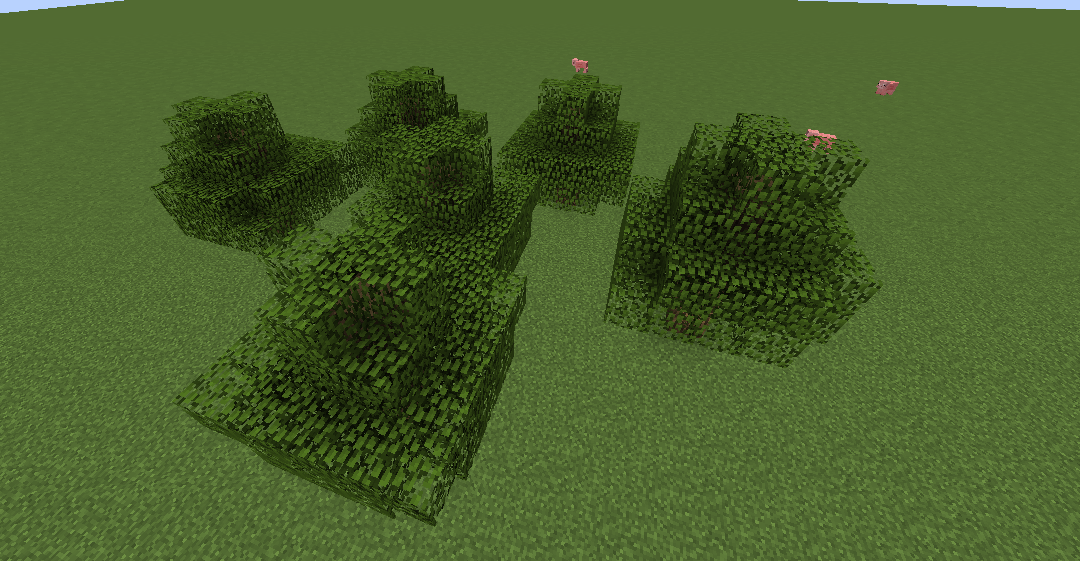
After using the command //replace 159:5 (159:5 is the item ID of Lime Stained Clay), our forest looks like this:
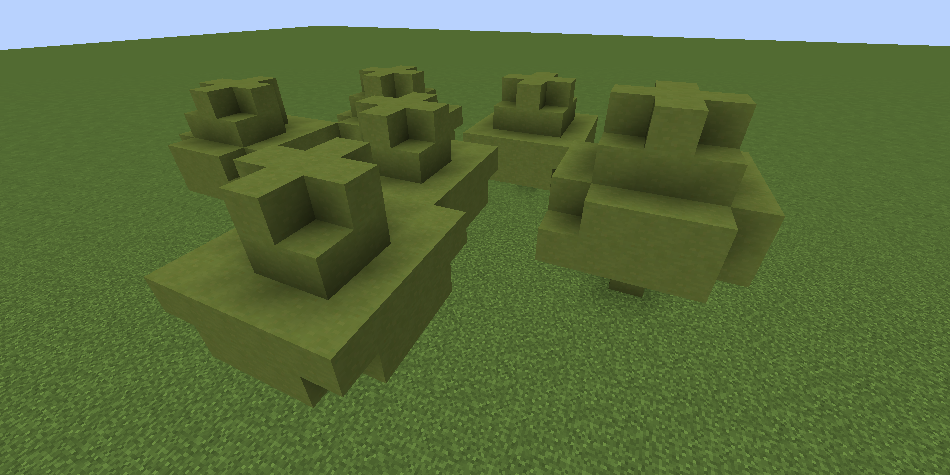
But wait, now the trunk is also green! Gomme won’t like that, so let’s enter //undo to reset the last action. We find out that the item ID for Leaves is 18, for Logs 17 and for Brown Stained Clay 159:7.
Now we have to execute the following commands:
After using the command //replace 159:5 (159:5 is the item ID of Lime Stained Clay), our forest looks like this:
But wait, now the trunk is also green! Gomme won’t like that, so let’s enter //undo to reset the last action. We find out that the item ID for Leaves is 18, for Logs 17 and for Brown Stained Clay 159:7.
Now we have to execute the following commands:
- //replace 17 159:7
- //replace 18 159:5
I made a typing error. Now what?
Now we make use of one of the most important commands: //undo
Using this command, you can undo your last WorldEdit operation. By re-entering //undo, also the one before. But don’t rely too much on this feature. When entering //undo too often, at some point you won’t be able to undo your changes anymore.
Suitable for the //undo command, there is also //redo. Should you enter the undo command accidently, simply redo your operation with //redo.
Copying, flipping, mirroring, and stacking with WorldEdit
One of the best features of WorldEdit is copying blocks. Let’s suppose that you just built a wonderful TNT cannon on your PBUILD, but you still need some more.
Mark this cannon with the old-known commands //pos1 and //pos2. Please note: the clipboard will always be orientated by the block where you are currently. This means that if you are e.g. 3 blocks above the TNT cannon, you copy it with //copy and paste it at another location by using //paste, it will also appear 3 blocks below you.
So please watch out where you are when copying.
When using the //paste command, you may notice that also the air is being pasted. So, if you are placing your TNT cannon next to a mountain, there will be a big square-shaped hole in the mountain. You can avoid this by entering //paste -a instead of //paste. This will place everything but the air.
With the command //rotate [degree value], you can also specify a rotation axis. You can use the degree values 90, 180, and 270 there.
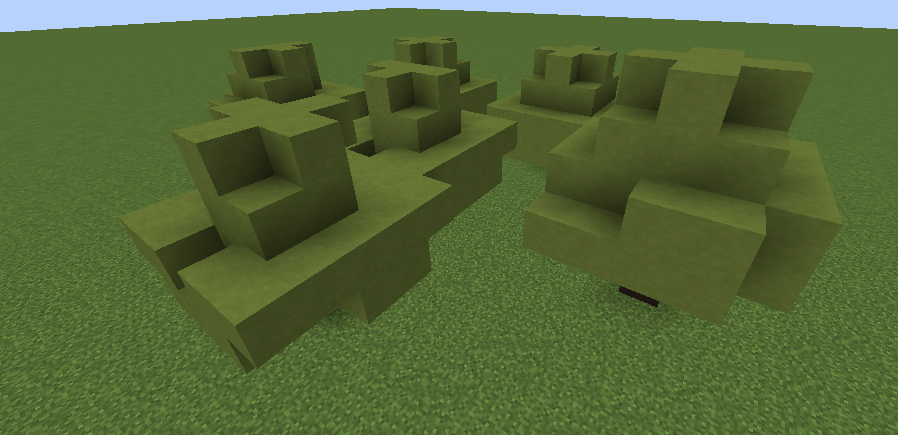
A nice TNT base needs cannons in every direction. That’s why we want to turn all the cannons around the center (which is also pretty useful for BedWars or SkyWars maps so that you don’t have to build the island 4 times).
Our initial situation:
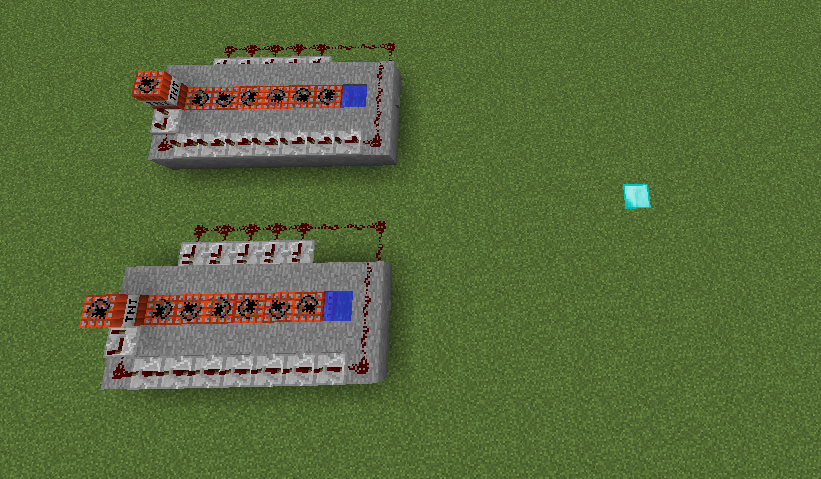
So, we mark our two TNT cannons and fly to the Diamond Block. Here, we enter //copy.
Afterwards, we execute the command //rotate 90 and can see the following result:
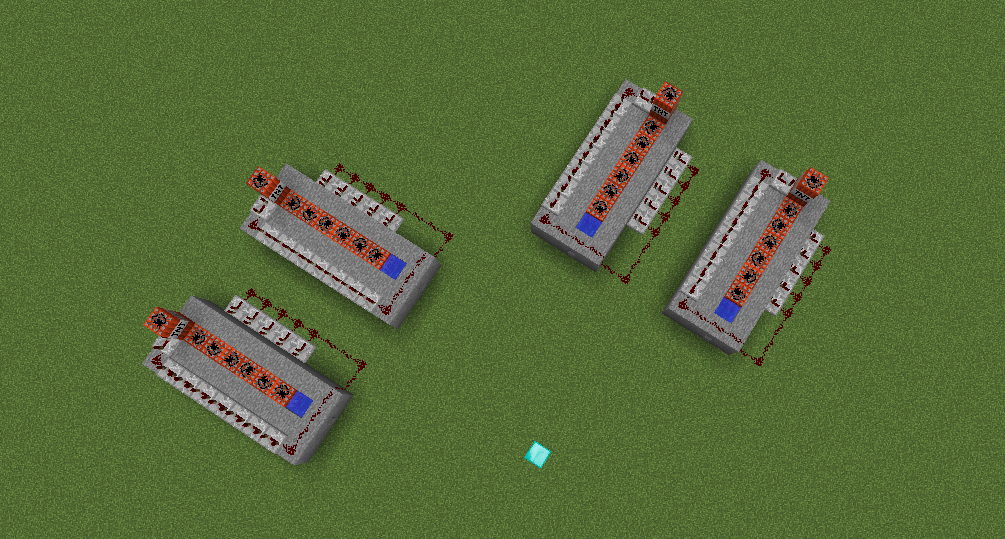
Now, you can do the same thing with //rotate 180 and //rotate 270.
Our initial situation:
So, we mark our two TNT cannons and fly to the Diamond Block. Here, we enter //copy.
Afterwards, we execute the command //rotate 90 and can see the following result:
Now, you can do the same thing with //rotate 180 and //rotate 270.
But not only can you rotate objects, you can also flip them. Imagine that you just have constructed the first front of a house and you don’t want to build 4 other ones the same way. A simple WorldEdit command will help you: //flip. Simply copy your front at the mirror axis, view in the desired direction and enter //flip. Now just enter //paste -a – there you go!
We have the following construction:
We want to mirror it at the Diamond Block. We mark the area and execute the command //copy at the Diamond Block. We view in the desired direction (in this case right) and enter //flip.
Now, as usual. //paste -a.
Result:
We want to mirror it at the Diamond Block. We mark the area and execute the command //copy at the Diamond Block. We view in the desired direction (in this case right) and enter //flip.
Now, as usual. //paste -a.
Result:
Another pretty useful feature is stacking with WorldEdit. Stacking simply means stringing the marked area together as many times as you specified. For example, //stack 10 while facing north will add the marked area 10 times to the original one.
We want to extend our train station since it only has one platform until now.

It should have a total of 10 platforms. Therefore, we mark the platform with the Wooden Axe or the commands //pos1 and //pos2 (you probably know them by heart now), view in the right direction and enter //stack 9 (we already got one platform and want a total of 10 ones, so we need 9 more).
Result:

It should have a total of 10 platforms. Therefore, we mark the platform with the Wooden Axe or the commands //pos1 and //pos2 (you probably know them by heart now), view in the right direction and enter //stack 9 (we already got one platform and want a total of 10 ones, so we need 9 more).
Result:
Circles, Spheres And Pyramids – Everything’s Possible
Now you know the very basics of WorldEdit. But here, you won’t need them at all. There are commands in WorldEdit with which you can simply construct several patterns at your current location. Now we’re coming to these commands:
This applies to every command: If you add a h before any command, the object will be hollow inside (example: //hcyl instead of //cyl)
- //cyl [itemID] [radius] {height} creates a circle of the specified item ID and radius. Ex.: //cyl 1 5 10 creates a circle of the radius 5, soaring 10 blocks and made of stone.
- //sphere [itemID] [radius] creates a sphere of the specified item ID and radius.
- //pyramid [itemID] [radius] creates a pyramid of the specified item ID and radius.
In the following post, you will find a summary of the most important commands to keep track of them.
Translation by DanNick
Zuletzt bearbeitet von einem Moderator:
